Skip to content
All articles
7 min read

Could Not Get Lock /var/lib/dpkg/lock-frontend: Fix

MD Rakibul Islam RakibMD Rakibul Islam RakibFull-stack developer, DevOps & Linux engineer
Could Not Get Lock /var/lib/dpkg/lock-frontend: Fix

"Could not get lock /var/lib/dpkg/lock-frontend" means another apt or dpkg process is running. Wait for it or stop it cleanly. Never just delete the lock file.

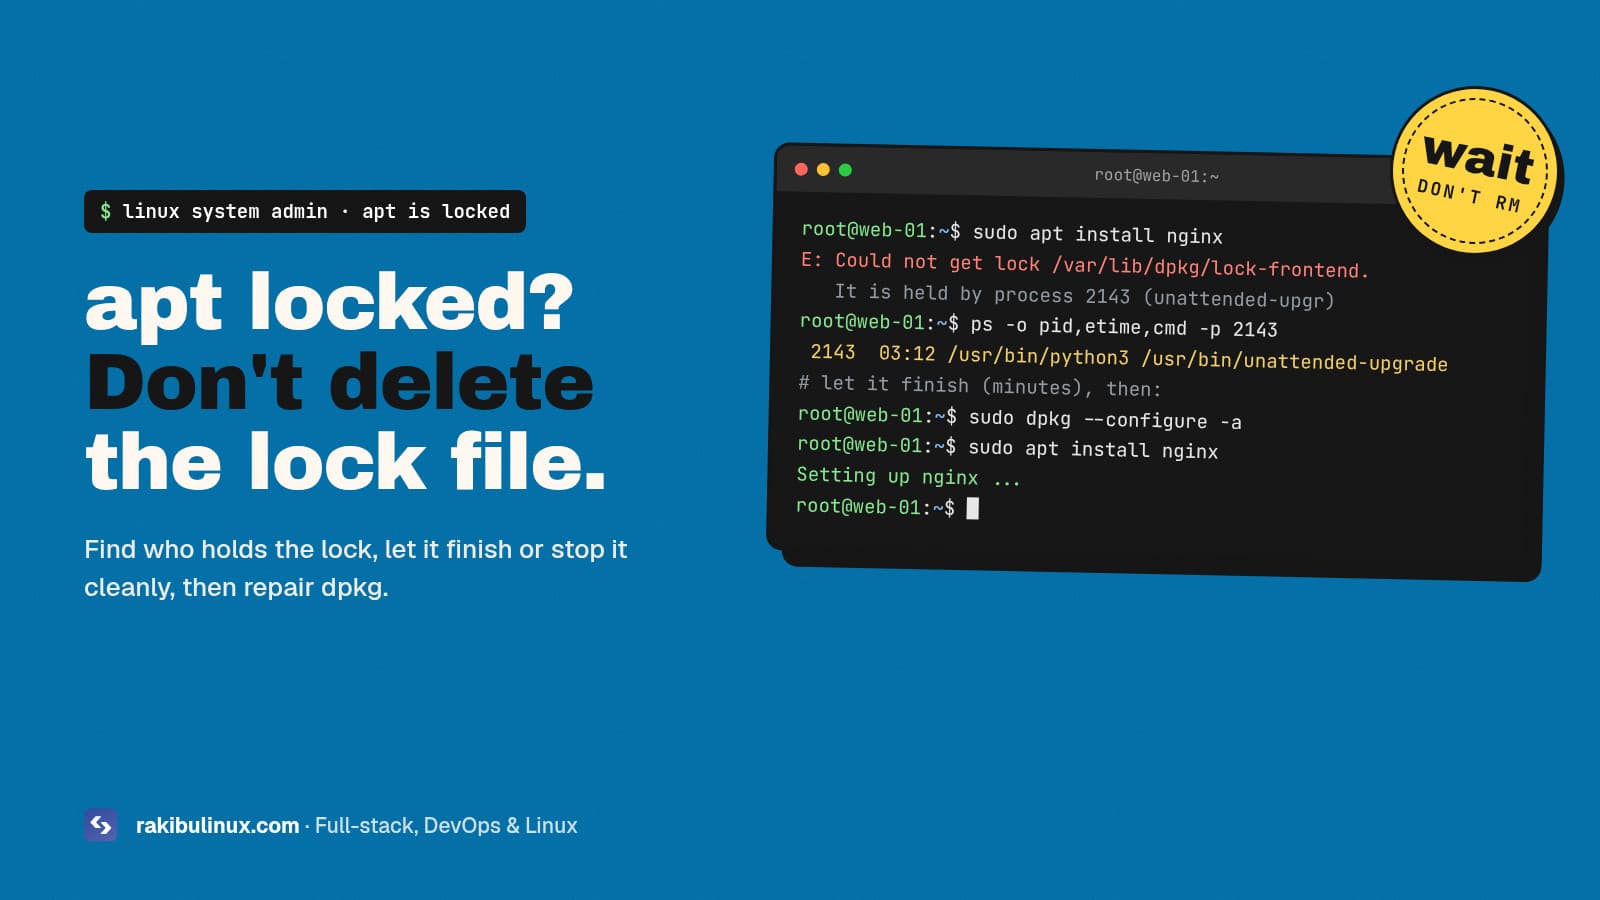
You SSH into a fresh Ubuntu server, type sudo apt install nginx, and get E: Could not get lock /var/lib/dpkg/lock-frontend. It is held by process 2143 (unattended-upgr). It's one of the most searched Linux errors, and the top answer on many forums is to rm the lock files. That advice can corrupt your package database. I hit this constantly when provisioning new VPS servers and in CI jobs that run apt right after boot, so here's the safe way to handle it, in the order I do it.

Key takeaways

  • The lock is doing its job: only one program may change installed packages at a time. Something else is installing or updating right now.
  • On a new or freshly booted server it's almost always unattended-upgrades installing security updates. Waiting a few minutes is the fix.
  • Find the holder first with sudo fuser -v /var/lib/dpkg/lock-frontend or sudo lsof /var/lib/dpkg/lock-frontend.
  • Don't delete the lock files. Two dpkg processes writing at once can leave packages half-installed.
  • In scripts, wait instead of failing: apt-get -o DPkg::Lock::Timeout=300 waits up to five minutes for the lock.

What is the dpkg lock?

Ubuntu and Debian install software with dpkg, and apt sits on top of it. To stop two installs from writing the package database at the same time, they take locks on a few files:

  • /var/lib/dpkg/lock-frontend: taken by apt, apt-get and other front ends for the whole operation.
  • /var/lib/dpkg/lock: taken by dpkg itself while it changes packages.
  • /var/lib/apt/lists/lock: held during apt update.
  • /var/cache/apt/archives/lock: held while downloading packages.

The lock files themselves always exist; what matters is whether a running process holds a lock on them. That's why deleting the file doesn't "unlock" anything safely: it just lets a second process in while the first is still working.

Step 1: Find out who holds the lock

Modern apt tells you the PID in the error message. If it doesn't, ask the kernel:

sudo fuser -v /var/lib/dpkg/lock-frontend /var/lib/dpkg/lock
# or
sudo lsof /var/lib/dpkg/lock-frontend
# then see what it is and how long it has been running
ps -o pid,etime,cmd -p 2143

You'll usually see one of these:

  • unattended-upgrade: Ubuntu's automatic security updates, started by the apt-daily-upgrade timer and on first boot.
  • apt or apt-get from another SSH session, a tmux window you forgot, or a config management run.
  • packagekitd or the Software Updater on Ubuntu Desktop.
  • cloud-init on a brand-new cloud server, still installing the packages from your provider's user data.

If nothing holds it but apt still complains, a previous run was killed. Skip to Step 4.

unattended-upgradeinstalling security updates sudo apt install nginx waiting for lock-frontendgot the lock, installing dpkg lock One process at a time. Deleting the lock lets both write at once.
Only one process can hold the dpkg lock. Your apt command has to wait until the current holder, usually automatic security updates, finishes and releases it.

Step 2: Usually, just wait

If the holder is unattended-upgrade, cloud-init or a legitimate apt run, let it finish. On a new server that's typically a few minutes. You can watch it:

tail -f /var/log/unattended-upgrades/unattended-upgrades.log
# wait until nothing holds the lock, then continue
while sudo fuser /var/lib/dpkg/lock-frontend >/dev/null 2>&1; do sleep 5; done

On a brand-new cloud VM, cloud-init status --wait blocks until first-boot setup is done, which is a cleaner wait than polling the lock.

Step 3: If it's really stuck, stop it cleanly

Check the elapsed time from ps -o etime. If an apt process has been running for a very long time with no log output, it may be waiting on an interactive prompt in a session nobody is watching (a config file question in a lost tmux window is the usual culprit). Find and finish that session if you can. If not, stop the process politely first:

sudo systemctl stop unattended-upgrades apt-daily-upgrade.service apt-daily.service
sudo kill 2143          # SIGTERM first; only use kill -9 if it ignores this

Then move straight to Step 4, because an interrupted install leaves dpkg in an unfinished state.

Step 4: Repair dpkg after an interrupted install

If you see E: dpkg was interrupted, you must manually run 'sudo dpkg --configure -a' to correct the problem, or a previous apt run was killed, finish the pending work:

sudo dpkg --configure -a
sudo apt-get -f install
sudo apt update && sudo apt upgrade

dpkg --configure -a configures every package that was unpacked but not set up, and apt-get -f install fixes broken dependencies. If dpkg --configure -a itself fails, read its error: a full disk is a common reason a package can't finish, and my "No space left on device" guide covers clearing space safely.

What about deleting the lock files?

You'll see this "fix" everywhere:

# don't do this while anything holds the lock
sudo rm /var/lib/dpkg/lock-frontend /var/lib/dpkg/lock

If a process is still running, removing the files lets a second apt start alongside it, and both write to /var/lib/dpkg/status. That's how you end up with half-configured packages and a broken kernel update. It's only harmless when nothing holds the lock, and in that case apt wouldn't have complained. Use fuser to prove nothing is running, then run dpkg --configure -a instead.

How to stop this from breaking your scripts and CI

Provisioning scripts, Ansible runs and GitHub Actions jobs that SSH into a fresh server often fail on the very first apt line, because the server is still applying its first-boot updates. Make them wait instead:

sudo cloud-init status --wait || true
sudo apt-get -o DPkg::Lock::Timeout=300 update
sudo apt-get -o DPkg::Lock::Timeout=300 install -y nginx

DPkg::Lock::Timeout tells apt to wait up to that many seconds for the lock instead of failing at once. Don't disable unattended-upgrades to avoid the lock; those are your security patches. If timing matters, move them with the apt-daily-upgrade.timer instead. My Ubuntu 24.04 hardening checklist explains why automatic security updates belong on every server, and my GitHub Actions deploy guide shows a pipeline that doesn't touch apt at deploy time at all.

Frequently asked questions

How long does unattended-upgrades take?

Usually a few minutes, longer on a new server with many pending updates or a slow mirror. Watch /var/log/unattended-upgrades/unattended-upgrades.log to see that it's still making progress before you decide it's stuck.

Is it safe to kill unattended-upgrades?

Stopping it with a normal kill or systemctl stop is usually fine, as long as you run sudo dpkg --configure -a afterwards to finish any package it was in the middle of. Avoid kill -9 unless it refuses to stop.

Why do I get this error right after creating a new server?

New cloud servers run cloud-init and an initial round of security updates on first boot, and both hold the dpkg lock. Wait with cloud-init status --wait or retry after a few minutes.

What's the difference between lock and lock-frontend?

lock-frontend is held by apt and other front ends for the whole operation, while lock is held by dpkg itself while it changes packages. The fix is the same for both: find the process holding it.

Can I make apt wait for the lock automatically?

Yes. Pass -o DPkg::Lock::Timeout=300 to apt-get and it waits up to 300 seconds for the lock to be released. This is the right fix for scripts and CI jobs.

Need a hand with your server?

I set up and maintain Ubuntu servers: safe automatic updates, hardening, backups and monitoring, so a stuck package manager never takes your site down. See my Linux system administration services, or contact me with the full error and I'll help you fix it.

MD Rakibul Islam Rakib

Written by

MD Rakibul Islam Rakib

Full-stack developer, DevOps engineer and Linux system administrator with 5+ years of production experience. I deploy, harden and fix servers and web apps for clients worldwide, and everything in this article runs on real servers I manage, including this site.

  • Could not get lock /var/lib/dpkg/lock-frontend
  • dpkg lock
  • apt lock error
  • unattended-upgrades
  • dpkg --configure -a
  • Ubuntu

Keep reading

Self-Host LiveKit on a VPS: Setup, TURN and Tokens
DevOpsOct 7, 2026

Self-Host LiveKit on a VPS: Setup, TURN and Tokens

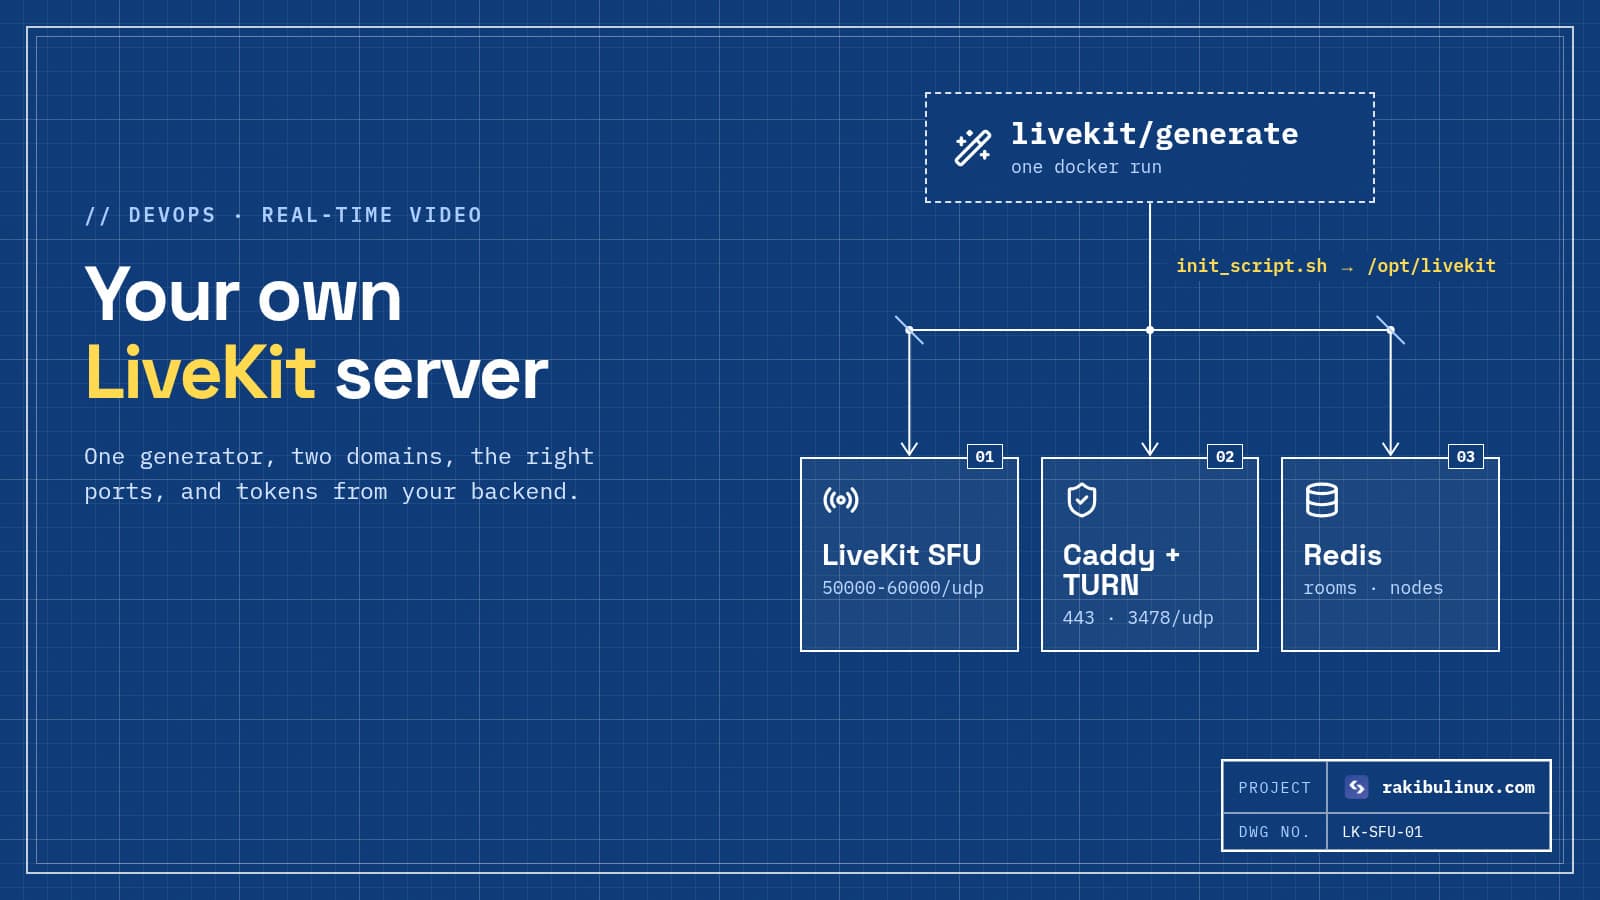
To self-host LiveKit, point two domains at a VPS, run the livekit/generate Docker image, install what it creates and open the WebRTC UDP port range. LiveKit is the media server I reach for when a client wants video, audio or voice AI inside their own product rather than a ready-made meeting app. It is open source (Apache 2.0), it scales well, and its SDKs cover web, iOS, Android, Flutter and React Native. LiveKit Cloud is the easy hosted option; self-hosting makes sense when you need data on your own servers, a fixed monthly bill, or a region the cloud doesn't serve. This is how I deploy it on a single VPS, plus how it compares with Jitsi, which I have run for clients for years. Key takeaways LiveKit is infrastructure, not an app. You build your own interface with its SDKs, or start from the open-source example meeting app. The generator does most of the work: livekit/generate writes the LiveKit config, Caddy for TLS, Redis and a Docker Compose file. You need two domains: one for LiveKit itself and one for its built-in TURN server, both pointing at the server. Open the UDP range. Media flows over 50000-60000/udp; without it, calls fall back to TCP or TURN and quality suffers. Your backend signs access tokens with the API key and secret. Never put the secret in a browser or mobile app. LiveKit or Jitsi? I get this question on almost every video project, so here is the short version: Pick Jitsi Meet when you want a complete meeting product today: rooms, chat, screen sharing, recording with Jibri and phone dial-in with Jigasi, all in a ready web app. See my Jitsi Meet with JWT and Jibri guide . Pick LiveKit when video is a feature inside your own product: telehealth, online classes in your LMS, live shopping, support calls, or voice AI agents that talk to users in real time. You design the interface; LiveKit moves the media. Both are SFUs: each participant uploads one stream and the server forwards it to the others. Both self-host on Linux with Docker. What you need A VPS with a public IP and no other web server on ports 80 and 443 (Caddy takes them). LiveKit's docs recommend compute-optimised instances, because capacity is limited by CPU and bandwidth, not memory. Two DNS A records: livekit.example.com and livekit-turn.example.com , both pointing to the server IP. Docker on your own machine to run the config generator. A hardened Ubuntu 24.04 server. My hardening checklist covers SSH and firewall basics. Step 1: Generate the configuration Run the generator on your laptop or on the server, in an empty folder: docker pull livekit/generate docker run --rm -it -v$PWD:/output livekit/generate It asks for your two domains and a few options, then writes a folder with: livekit.yaml : the LiveKit server config, including your generated API key and secret, caddy.yaml : Caddy, which gets Let's Encrypt certificates and terminates TLS, redis.conf and docker-compose.yaml , init_script.sh or a cloud_init file that installs everything on a fresh server. Save the API key and secret in your password manager. Your backend needs them to create tokens. Step 2: Install on the server If your provider supports cloud-init, paste the generated cloud-init file into the server's user data when you create it. Otherwise copy the init script to the server and run it: scp init_script.sh root@203.0.113.40: ssh root@203.0.113.40 'chmod +x init_script.sh && ./init_script.sh' The script installs Docker, puts the configuration in /opt/livekit and registers a systemd service called livekit-docker : systemctl status livekit-docker --no-pager cd /opt/livekit && docker compose logs -f livekit LiveKit runs with host networking, which its docs recommend for performance. Keep that in mind for the firewall: the ports are on the host directly. Step 3: Open the firewall sudo ufw allow 80/tcp # certificate issuance sudo ufw allow 443/tcp # HTTPS, WebSocket signalling, TURN/TLS sudo ufw allow 7881/tcp # WebRTC over TCP sudo ufw allow 3478/udp # TURN/UDP sudo ufw allow 50000:60000/udp # WebRTC media Check your cloud provider's firewall or security group too. A closed UDP range is the most common reason a self-hosted LiveKit "connects but shows no video". Each participant uploads one stream and the SFU forwards it to everyone else. Users on strict networks reach it through TURN over port 443, and nobody joins without a token signed by your backend. Step 4: Test it with the LiveKit CLI curl -sSL https://get.livekit.io/cli | bash export LIVEKIT_URL=wss://livekit.example.com export LIVEKIT_API_KEY=APIxxxxxxxx export LIVEKIT_API_SECRET=your-secret lk token create --join --room test-room --identity rakib lk load-test --room test-room --video-publishers 8 The token command prints a JWT you can paste into LiveKit's example web app to join from a browser. The load test adds simulated publishers so you can watch CPU and bandwidth on the server ( htop , nload ) before real users arrive. Raise the publisher count until the server struggles, then size your production server with headroom. Step 5: Issue tokens from your backend In your app, users log in to your backend, which returns a short-lived LiveKit token. With the official Node.js server SDK: import { AccessToken } from "livekit-server-sdk"; export async function livekitToken(userId: string, room: string) { const at = new AccessToken(process.env.LIVEKIT_API_KEY, process.env.LIVEKIT_API_SECRET, { identity: userId, ttl: "1h", }); at.addGrant({ roomJoin: true, room, canPublish: true, canSubscribe: true }); return at.toJwt(); } The grant decides what a user can do. For a webinar, give viewers canPublish: false . Check that the user is allowed in that room before you sign anything; the token is the only lock on the door. Recording, streaming and voice AI Egress records rooms or single tracks to MP4 and object storage, or streams them to RTMP. It is a separate service that needs Redis and plenty of CPU, so I run it on its own server. If you need S3-compatible storage on your own hardware, see my self-hosted S3 alternatives . Ingress brings RTMP or WHIP streams (for example from OBS) into a room. SIP connects phone calls to rooms. Agents: LiveKit's agents framework joins rooms as an AI participant that listens and talks back. Your self-hosted server works with it the same way as LiveKit Cloud. Scaling beyond one server One node handles a lot, but when you need more, add nodes that share the same Redis. LiveKit uses Redis to know which node hosts each room, so a room stays on one node and new rooms spread across the cluster. Put the nodes in the same region as your users; latency matters more than raw server size for real-time media. Troubleshooting Connects, but no audio or video: the UDP range or 7881/tcp is blocked, at the host or at the cloud firewall. Certificate errors: one of the two DNS records doesn't point to the server, or port 80 is closed, so Caddy can't get a certificate. Check docker compose logs caddy . "invalid token" / 401: the token was signed with a different key pair than the one in livekit.yaml , or it expired. Choppy video at scale: CPU or bandwidth is maxed. Use the load test numbers to size up, or add a second node. Frequently asked questions Is LiveKit free to self-host? Yes. The LiveKit server is open source under the Apache 2.0 licence. You pay for your servers and bandwidth; LiveKit Cloud is the paid managed option. Do I need a TURN server for LiveKit? LiveKit has a TURN server built in, and the generated config turns it on with its own domain. It lets users behind strict corporate firewalls connect over port 443. Can LiveKit replace Zoom or Google Meet? It can power your own Zoom-like product, but you build the interface. If you want a finished meeting app without development, self-hosted Jitsi Meet is the faster route. Does self-hosted LiveKit work with voice AI agents? Yes. The agents framework connects to any LiveKit server with a URL, API key and secret, so you can run AI voice assistants against your own deployment. How big a server do I need? It depends on how many people publish video and at what quality. Start with a compute-optimised VPS, run lk load-test with numbers close to your real rooms, and keep headroom. Want LiveKit running for your product? I deploy and maintain self-hosted LiveKit with TURN, Egress recording, token services in your backend, monitoring and scaling, and I build the web app around it. See my DevOps services or tell me what you are building .

Read article →
Install ERPNext 16 on Ubuntu 24.04 for Production
Web DevelopmentOct 7, 2026

Install ERPNext 16 on Ubuntu 24.04 for Production

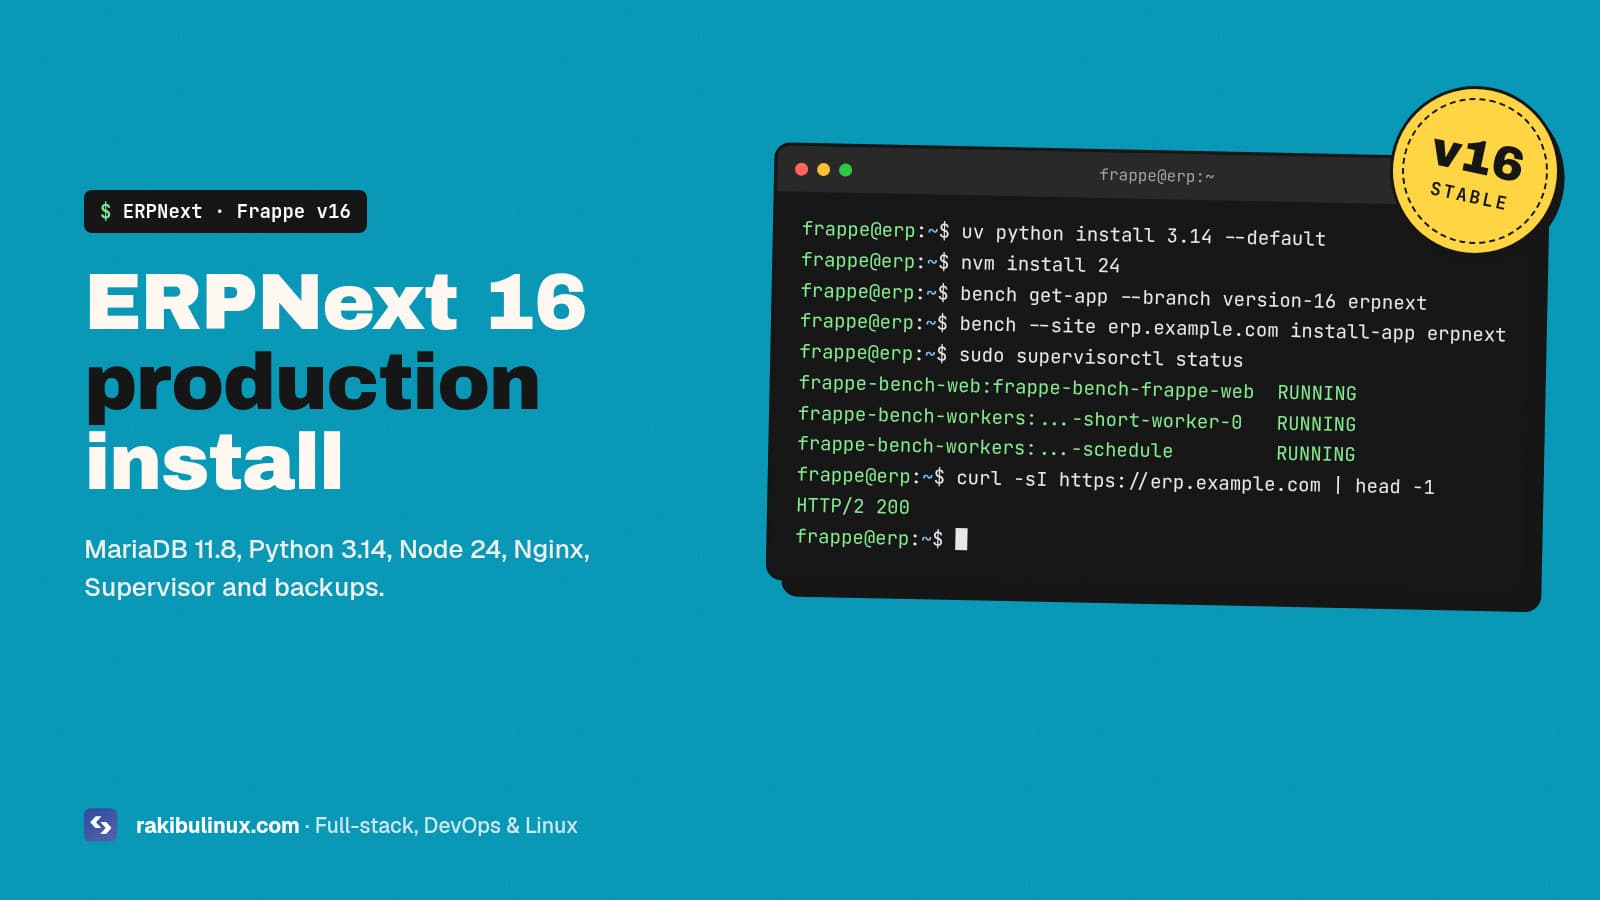
Install ERPNext 16 on Ubuntu 24.04: add MariaDB 11.8, Python 3.14 (uv) and Node 24, run bench init on version-16, install erpnext, then bench setup production. ERPNext is the open-source ERP I install and customise most for small and mid-size companies, and I have built ERPNext backends for custom mobile apps, including a real-time RFID inventory system with a handheld UHF reader. The most common request I get is not a new feature; it is "our install broke during an update" or "the server is slow". Almost every time, the root cause is the install itself: wrong database settings, the wrong Python, or a development setup running in production. Version 16 (final release on 12 January 2026) raised the requirements again, so here is the clean production install I use now. Key takeaways v16 needs newer tools than Ubuntu 24.04 ships: Python 3.14, Node 24 and MariaDB 11.8. Install them from uv, nvm and the MariaDB repository. Run bench as a normal user (for example frappe ), never as root. Set MariaDB to utf8mb4 before you create the first site, or you will fight encoding errors later. bench start is for development. Production uses bench setup production with Nginx and Supervisor. Back up before every update and test updates on a copy of the site first. What do you need before installing? Server: Ubuntu 24.04 LTS, 4 GB RAM as the minimum. I give real companies 8 GB and 4 vCPU, because background jobs, reports and PDF printing all need memory. Disk: 40 GB or more on SSD. Attachments and backups grow fast. Domain: erp.example.com pointing to the server, for HTTPS. Hardening first: SSH keys, firewall with only 22, 80 and 443 open. My Ubuntu 24.04 hardening checklist covers it. The official requirements for version 16 are Python 3.14, Node.js 24, MariaDB 11.8, Redis 6 or newer, Yarn 1.22+ and wkhtmltopdf 0.12.6 with patched Qt. Check the Frappe installation docs before you start, because they change between major versions. Step 1: Create the frappe user and install packages sudo adduser frappe sudo usermod -aG sudo frappe sudo apt update sudo apt install -y git curl redis-server libmariadb-dev pkg-config \ xvfb libfontconfig nginx supervisor Step 2: Install MariaDB 11.8 and set utf8mb4 Ubuntu 24.04's own MariaDB is the 10.11 series, older than v16 wants, so add MariaDB's official repository for the 11.8 series: curl -LsS https://r.mariadb.com/downloads/mariadb_repo_setup | \ sudo bash -s -- --mariadb-server-version="mariadb-11.8" sudo apt install -y mariadb-server mariadb-client sudo mariadb-secure-installation Then create /etc/mysql/mariadb.conf.d/99-frappe.cnf : [mysqld] character-set-client-handshake = FALSE character-set-server = utf8mb4 collation-server = utf8mb4_unicode_ci [mysql] default-character-set = utf8mb4 sudo systemctl restart mariadb Remember the MariaDB root password. Bench asks for it every time it creates a site. Step 3: Install wkhtmltopdf with patched Qt ERPNext prints invoices and reports to PDF with wkhtmltopdf, and the version in Ubuntu's repository is not the patched-Qt build, which breaks headers and footers. Download the 0.12.6.1 "with patched qt" package for your system from the wkhtmltopdf packaging releases and install it with sudo apt install ./wkhtmltox_*.deb . Confirm with wkhtmltopdf --version ; it should say "with patched qt". Step 4: Python 3.14, Node 24 and bench (as frappe) sudo su - frappe curl -LsSf https://astral.sh/uv/install.sh | sh source ~/.bashrc uv python install 3.14 --default curl -o- https://raw.githubusercontent.com/nvm-sh/nvm/master/install.sh | bash source ~/.bashrc nvm install 24 npm install -g yarn uv tool install frappe-bench bench --version uv keeps Python 3.14 separate from the system Python that Ubuntu's own tools depend on. Never replace /usr/bin/python3 . Step 5: Create the bench, the site and install ERPNext bench init --frappe-branch version-16 frappe-bench cd frappe-bench chmod -R o+rx /home/frappe bench new-site erp.example.com bench get-app --branch version-16 erpnext bench --site erp.example.com install-app erpnext bench --site erp.example.com enable-scheduler bench use erp.example.com Name the site after its domain. With DNS-based multitenancy ( bench config dns_multitenant on ) one bench can serve several companies, each on its own domain and database. Need HR and payroll too? Install the hrms app the same way with --branch version-16 . In production, Nginx serves files and proxies to Gunicorn, Supervisor keeps every Frappe process alive, Redis queues background jobs, and MariaDB holds the data. Step 6: Switch to production (Nginx + Supervisor) sudo env "PATH=$PATH" bench setup production frappe bench setup nginx sudo supervisorctl restart all sudo nginx -t && sudo systemctl reload nginx This writes Nginx and Supervisor configs that run Gunicorn, Socket.IO, the background workers and the scheduler as services that start at boot. If bench setup production complains about a missing tool, install it and rerun; on some setups it needs ansible . Check everything is running with sudo supervisorctl status . Step 7: HTTPS with Let's Encrypt sudo apt install -y certbot python3-certbot-nginx sudo certbot --nginx -d erp.example.com Rerunning bench setup nginx regenerates the Nginx config and can drop the certificate lines certbot added. If HTTPS breaks after a bench change, run certbot again. If renewal ever fails, my guide to fixing Certbot renewal errors walks through the causes. Step 8: Backups and safe updates bench --site erp.example.com backup --with-files ls sites/erp.example.com/private/backups/ Backups on the same server are not backups. Copy the database dump and file archives off-site every night (S3, another server, or rclone to cloud storage), and test a restore on a spare server every few months. My Linux backup guide shows the automation. Before bench update : Take a fresh backup with files. Restore it to a staging copy and run the update there first. Check custom apps, print formats and integrations on staging. Update production in a quiet hour. Common ERPNext install problems Site loads without CSS: assets were not built or Nginx can't read them. Run bench build and check that the home folder permissions allow Nginx to read sites/assets . Emails and reports never run: the scheduler is disabled, or workers are down. Check bench --site erp.example.com doctor and supervisorctl status . PDFs have no header or footer: wkhtmltopdf is not the patched-Qt build. 502 Bad Gateway after a reboot or update: Gunicorn didn't start. Read the Supervisor logs in frappe-bench/logs/ ; my Nginx 502 guide covers the general debugging path. Docker instead? Frappe also ships Docker images (the frappe_docker project and the easy-install.py script). Docker is a good choice when you run many sites or want identical staging and production. For one company on one server, I still prefer the bench install above: fewer layers, simpler debugging, and the community guides match what you see. Frequently asked questions Can ERPNext 16 run on Ubuntu 24.04? Yes. Ubuntu 24.04 works well, but install Python 3.14 with uv, Node 24 with nvm and MariaDB 11.8 from MariaDB's repository, because the Ubuntu packages are older than version 16 requires. How much RAM does ERPNext need? 4 GB is the minimum for a small setup. For a company with daily users, background jobs and PDF printing, I recommend 8 GB, and more if you run several sites on one bench. Is ERPNext free? Yes. ERPNext and the Frappe Framework are open source, so you can self-host without licence fees. You pay for the server, and for setup, customisation and support if you hire help. Should I upgrade from ERPNext 15 to 16? Yes, but on a staging copy first. Check that your custom apps support version 16, update the server tools (Python, Node, MariaDB), then migrate production after testing. Self-hosted ERPNext or Frappe Cloud? Frappe Cloud is managed hosting run by the ERPNext makers, with updates handled for you. Self-hosting gives you full control, custom server-side integrations and data on your own server. Want ERPNext installed, fixed or customised? I install ERPNext in production, upgrade old versions, fix broken benches and build custom apps and mobile integrations on top of it. See my web development services or tell me about your ERPNext setup .

Read article →
Self-Host Jitsi Meet with JWT Auth and Jibri Recording
Linux System AdminOct 7, 2026

Self-Host Jitsi Meet with JWT Auth and Jibri Recording

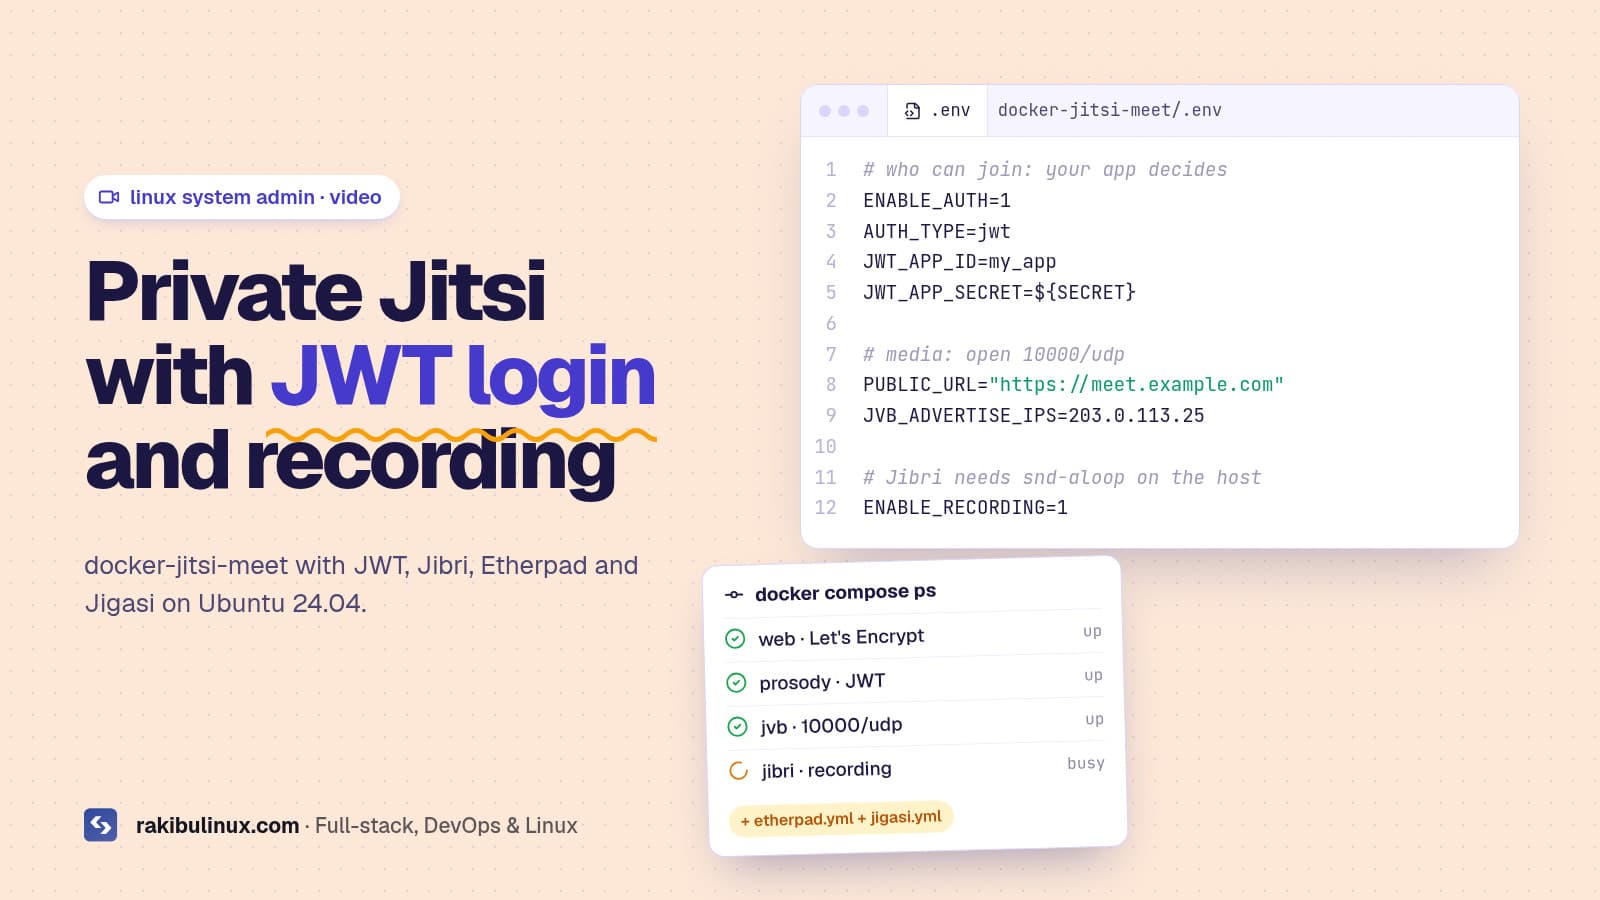
To self-host Jitsi Meet with JWT and recording, run docker-jitsi-meet on Ubuntu 24.04, set AUTH_TYPE=jwt in .env, open UDP 10000 and add jibri.yml for Jibri. Jitsi Meet is the video conferencing setup I get asked about most after SMS gateways. Schools want private classrooms, clinics want consultations that never touch a third-party cloud, and SaaS teams want video calls inside their own app where only logged-in users can join. My Jitsi install videos (JWT, Jibri, Jigasi and Etherpad on a Linux server) still bring in requests every month. This is the setup I use today: the official Docker images, JWT so your app decides who gets in, and recording that actually works. Key takeaways Use docker-jitsi-meet when you need JWT, Jibri, Etherpad or Jigasi. Each add-on is one extra compose file instead of a manual install. Open UDP 10000 and set JVB_ADVERTISE_IPS to the public IP. If calls work with two people and break with three, this is why. JWT means your app issues the tickets. No token, no meeting, and the token can make someone a moderator. One Jibri records one meeting at a time. Plan Jibri instances for the number of parallel recordings you need. Jigasi needs a SIP account from a VoIP provider for phone dial-in and dial-out. Docker or Debian packages? The Jitsi handbook supports both. The Debian packages ( apt install jitsi-meet , plus jitsi-meet-tokens for JWT) are fine for a plain meeting server on Ubuntu 24.04. Once you add JWT, recording, shared notes and phone dial-in, the Docker setup is easier to reproduce and upgrade: everything lives in one .env file, and each component is a separate container you can restart on its own. I use Docker for client projects for that reason. Server requirements Ubuntu 24.04 with Docker Engine and the Compose plugin. A domain like meet.example.com pointing to the server, for the Let's Encrypt certificate. CPU and bandwidth matter more than RAM for the video bridge. Jibri is heavier: every recording runs a full Chrome browser and ffmpeg, so put it on its own server once you record often. Firewall ports: 80/tcp and 443/tcp for the web and certificates, 10000/udp for media. Step 1: Download the release and generate passwords wget $(wget -q -O - https://api.github.com/repos/jitsi/docker-jitsi-meet/releases/latest | grep zip | cut -d\" -f4) unzip stable-* && cd jitsi-docker-jitsi-meet-* cp env.example .env ./gen-passwords.sh mkdir -p ~/.jitsi-meet-cfg/{web,transcripts,prosody/config,prosody/prosody-plugins-custom,jicofo,jvb,jigasi,jibri} Use a release zip, not a git clone of the main branch. gen-passwords.sh writes strong internal passwords into .env ; the containers refuse to start without them. Step 2: Set the domain, ports and public IP # .env CONFIG=~/.jitsi-meet-cfg HTTP_PORT=80 HTTPS_PORT=443 TZ=Asia/Dhaka PUBLIC_URL=https://meet.example.com ENABLE_LETSENCRYPT=1 LETSENCRYPT_DOMAIN=meet.example.com LETSENCRYPT_EMAIL=admin@example.com JVB_ADVERTISE_IPS=203.0.113.25 JVB_ADVERTISE_IPS is the public IP the video bridge tells browsers to send media to. Get it wrong and the third participant never connects. Then start the base stack and test a meeting: docker compose up -d docker compose ps Step 3: Turn on JWT authentication # .env ENABLE_AUTH=1 AUTH_TYPE=jwt JWT_APP_ID=my_app JWT_APP_SECRET=a-long-random-secret-shared-with-your-backend Restart with docker compose up -d . From now on, a meeting URL only works with a valid token: https://meet.example.com/project-review?jwt=<token> . Your backend signs that token with the shared secret after the user logs in to your app. A minimal Node.js example with the jsonwebtoken package: import jwt from "jsonwebtoken"; const token = jwt.sign( { aud: "jitsi", iss: "my_app", // = JWT_APP_ID sub: "*", // domain or tenant, * for all room: "project-review", // or * for every room context: { user: { name: "Rakib", email: "rakib@example.com", moderator: true } }, }, process.env.JWT_APP_SECRET, { algorithm: "HS256", expiresIn: "2h" }, ); Keep tokens short-lived and per room, so a leaked link stops working. The moderator flag only takes effect when the token_affiliation Prosody module is enabled (for example XMPP_MUC_MODULES=token_affiliation ) and Jicofo's auto-owner is turned off; otherwise the first person to join becomes moderator. Test this with two browsers before you go live, because it is the part that differs most between Jitsi versions. Prosody lets in only users with a valid token from your app. Media goes straight to the video bridge over UDP 10000, and Jibri joins as a hidden participant to record. Step 4: Add recording with Jibri Jibri records by joining the meeting as a hidden participant in Chrome and capturing the screen and audio with ffmpeg. On the host it needs the ALSA loopback kernel module: sudo apt install -y linux-modules-extra-$(uname -r) sudo modprobe snd-aloop echo snd-aloop | sudo tee -a /etc/modules lsmod | grep snd_aloop Some cloud kernels ship without snd-aloop . If modprobe fails, switch the server to the generic kernel, or pick a provider whose image includes it, before you go further. Then enable recording and start the extra container: # .env ENABLE_RECORDING=1 docker compose -f docker-compose.yml -f jibri.yml up -d Recordings land in the Jibri storage folder under your CONFIG directory as MP4 files. Move them to object storage on a schedule, or the disk fills up; I cover cleanup in fixing "No space left on device" . One Jibri container handles one recording or live stream at a time, so add more Jibri instances (ideally on separate servers) for parallel recordings. Step 5: Shared notes with Etherpad # .env ETHERPAD_URL_BASE=http://etherpad.meet.jitsi:9001 docker compose -f docker-compose.yml -f etherpad.yml up -d A "Shared document" button appears in meetings, and everyone in the room edits the same pad. The pad URL is internal to the Docker network, so you don't open any new ports. Step 6: Phone dial-in and dial-out with Jigasi Jigasi is the SIP gateway that lets people join by phone, or lets the meeting call a phone number. You need a SIP account from a VoIP provider: # .env JIGASI_SIP_URI=meet@sip.provider.example JIGASI_SIP_PASSWORD=your-sip-password JIGASI_SIP_SERVER=sip.provider.example JIGASI_SIP_PORT=5060 docker compose -f docker-compose.yml -f jibri.yml -f etherpad.yml -f jigasi.yml up -d That last command is the full stack. Save it as a script, because you need the same file list for every pull , up and down . Step 7: Firewall and Docker sudo ufw allow 80/tcp sudo ufw allow 443/tcp sudo ufw allow 10000/udp Docker publishes its ports through iptables directly, so UFW rules alone don't protect containers. Read why Docker bypasses UFW before you assume an internal port is closed. Troubleshooting Two people fine, the third breaks everything: with two participants Jitsi uses a direct peer-to-peer call. From three it goes through the video bridge, so UDP 10000 is blocked or JVB_ADVERTISE_IPS is wrong. "You have been disconnected" right after joining with a token: the token is expired, signed with the wrong secret, or iss doesn't match JWT_APP_ID . Decode it at jwt.io and compare. Recording button missing: ENABLE_RECORDING=1 isn't set, or the Jibri container isn't running. Check docker compose logs jibri . Jibri starts then fails: usually snd-aloop isn't loaded, or the server is out of CPU. Frequently asked questions Is self-hosted Jitsi Meet free? Yes. Jitsi Meet is open source and free to self-host. You pay for the servers and bandwidth, plus a SIP account if you use phone dial-in. How many participants can one Jitsi server handle? It depends on CPU, bandwidth and how many people send video. Test with your real meeting sizes, then scale out by adding video bridges rather than buying one huge server. Can I embed Jitsi in my own app? Yes. The Jitsi Meet IFrame API embeds meetings in any website, and with JWT your backend decides who can join each room and who is moderator. Jitsi or LiveKit? Jitsi is a complete meeting app you can run today. LiveKit is a media server and SDKs for building your own video or voice AI product. I compare them in my LiveKit self-hosting guide . Can Jibri live stream to YouTube? Yes. Jibri can stream a meeting to an RTMP endpoint such as YouTube Live instead of recording to a file. Like recording, each stream uses one Jibri. Need a private Jitsi server for your team or app? I install and maintain Jitsi Meet with JWT login from your app, Jibri recording, Etherpad, Jigasi phone dial-in, HTTPS, backups and monitoring. See my Linux system admin services or tell me how many people join your meetings .

Read article →