Cloudflare in Front of Your VPS: Setup Checklist
 MD Rakibul Islam RakibFull-stack developer, DevOps & Linux engineer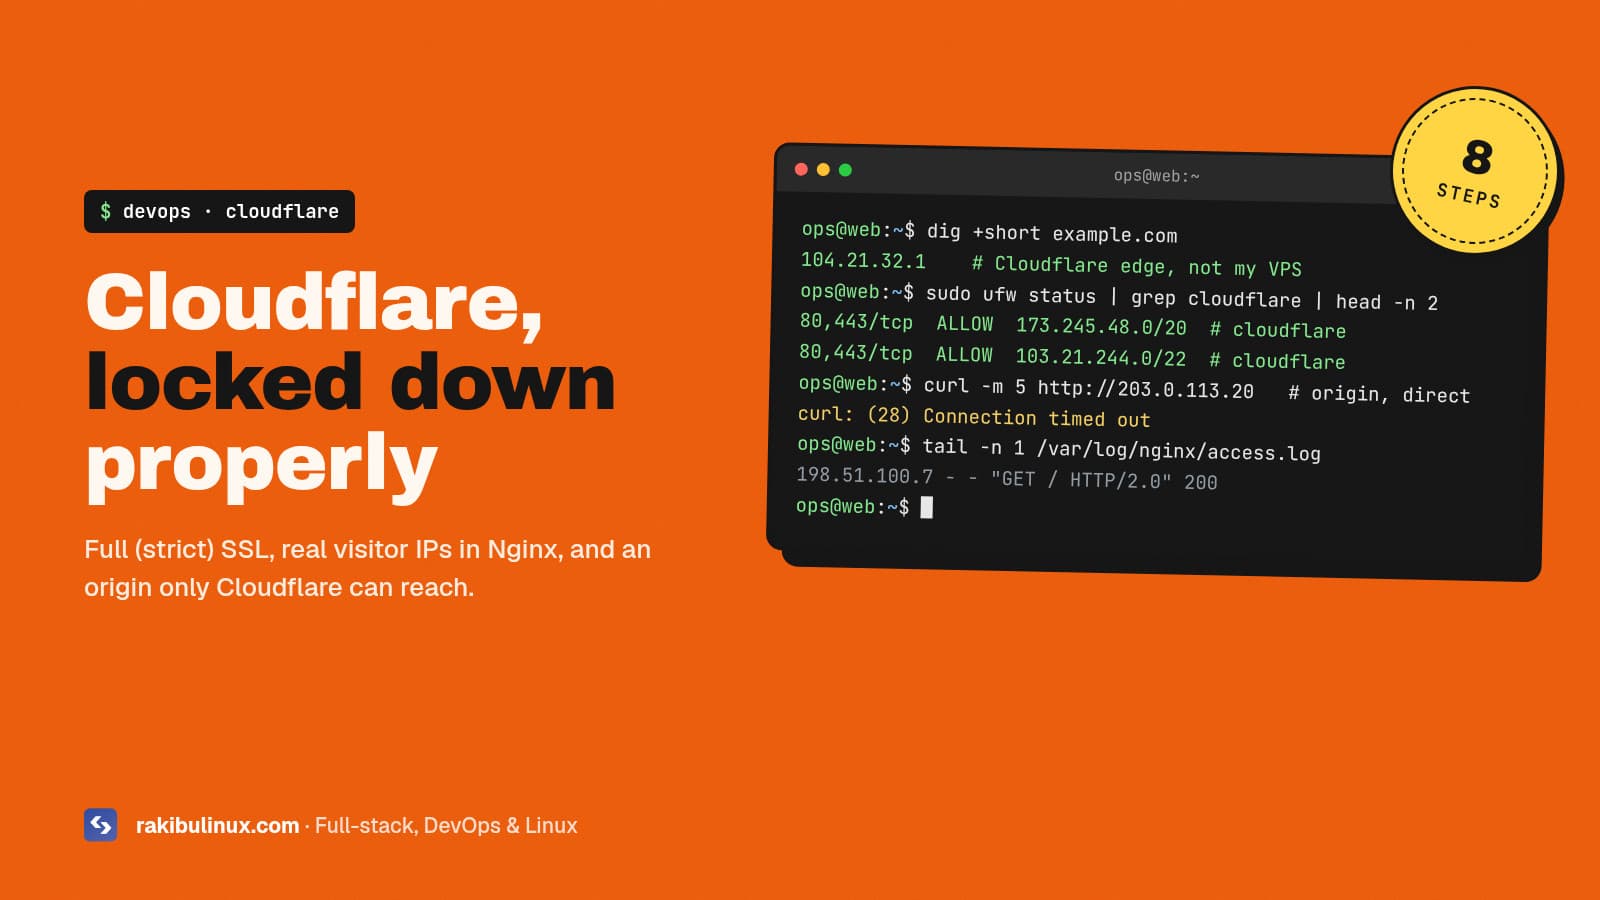
Cloudflare in front of a VPS: use Full (strict) SSL, restore real visitor IPs in Nginx, and firewall the origin so only Cloudflare reaches ports 80 and 443.
Cloudflare's free plan gives a small business site a global CDN, DDoS protection and free HTTPS at the edge, and setup looks like "change your nameservers, done". The problems show up later: an endless redirect loop, logs and rate limits that only ever see Cloudflare's IPs, attackers going around Cloudflare straight to the server's IP, or a checkout page cached for everyone. This is the checklist I use when I put a client's VPS behind Cloudflare, with the Nginx and UFW commands for Ubuntu.
Key takeaways
- Use Full (strict), never Flexible. Flexible sends traffic to your server unencrypted and causes redirect loops with an HTTPS redirect on the origin.
- Give the origin a real certificate: Let's Encrypt or a free Cloudflare Origin CA certificate.
- Restore the visitor's IP with Nginx's
real_ipmodule and theCF-Connecting-IPheader, or fail2ban and rate limits see only Cloudflare. - Lock the origin so ports 80 and 443 only accept Cloudflare's IP ranges, and don't leak the server IP through other DNS records.
- Cache static assets, not personal pages. Never cache HTML for logged-in users, carts or dashboards.
1. Add the site and check every DNS record
When you add a domain, Cloudflare scans your existing DNS records. The scan misses things, so compare it against an export from your current DNS provider before switching nameservers: MX, TXT (SPF, DKIM, DMARC, verification records), CNAMEs for subdomains and any CAA records. Missing an MX record breaks your email the moment the nameservers change.
Then decide which records are proxied (orange cloud) and which are DNS only (grey cloud):
- Proxied: the website and app hostnames:
example.com,www,app. - DNS only: mail servers (MX targets), anything using non-web ports like SSH or a database, and services that must see the client directly.
Only HTTP and HTTPS on standard ports (plus a short list of alternates) go through the proxy on the free plan, so an SSH hostname must be grey-clouded.
2. Set SSL/TLS to Full (strict)
This setting controls how Cloudflare talks to your server. The visitor always sees HTTPS either way, which is why the wrong choice can go unnoticed.
- Flexible: Cloudflare connects to your server over plain HTTP. Traffic between Cloudflare and your server is unencrypted, and if Nginx redirects HTTP to HTTPS you get
ERR_TOO_MANY_REDIRECTS, because every request arrives as HTTP and gets redirected forever. - Full: HTTPS to the origin, but any certificate is accepted, even expired or self-signed ones.
- Full (strict): HTTPS with a valid certificate checked. This is the one you want.
Newer zones may show "Automatic SSL/TLS" instead, where Cloudflare picks the most secure mode your origin supports. That's fine as long as your origin has a valid certificate so it can choose Full (strict). You can check or override it under SSL/TLS → Overview.
3. Give the origin a certificate
Two good options:
- Let's Encrypt with Certbot. The HTTP challenge works through the proxy in most setups. The more robust option is the DNS challenge with the Cloudflare plugin and a scoped API token (Zone → DNS → Edit for this zone only), which also works before DNS points at the server.
- Cloudflare Origin CA. Generate it under SSL/TLS → Origin Server, with a validity of up to 15 years, and install the certificate and key in Nginx. It's trusted by Cloudflare only, not by browsers, so it breaks if you ever switch a record to DNS only or pause Cloudflare.
If renewals start failing later, my Certbot renewal guide covers the Cloudflare-specific causes.
4. Restore real visitor IPs in Nginx
Behind the proxy, every request comes from a Cloudflare IP. Your access logs, fail2ban, rate limiting and any "block this IP" rule become useless, or worse, ban Cloudflare. Cloudflare sends the real IP in the CF-Connecting-IP header; Nginx's real IP module can use it, but only for requests from Cloudflare's ranges. Generate the config from Cloudflare's published lists:
{
  for ip in $(curl -s https://www.cloudflare.com/ips-v4) $(curl -s https://www.cloudflare.com/ips-v6); do
    echo "set_real_ip_from $ip;"
  done
  echo "real_ip_header CF-Connecting-IP;"
} | sudo tee /etc/nginx/conf.d/cloudflare-realip.conf

sudo nginx -t && sudo systemctl reload nginx
Reload a page and check the access log shows your own IP. Cloudflare's ranges change rarely, but they do change, so re-run this every few months or from a monthly cron job.
5. Lock the origin to Cloudflare
Cloudflare only protects traffic that goes through it. If someone finds your server's IP, they can bypass the CDN, the WAF and DDoS protection completely. Allow web traffic only from Cloudflare's ranges with UFW:
for ip in $(curl -s https://www.cloudflare.com/ips-v4) $(curl -s https://www.cloudflare.com/ips-v6); do
  sudo ufw allow proto tcp from "$ip" to any port 80,443 comment 'cloudflare'
done
sudo ufw delete allow 'Nginx Full'   # or: sudo ufw delete allow 80,443/tcp
sudo ufw status numbered
Keep your SSH rule in place before changing anything. If any app runs in Docker with published ports, UFW rules don't apply to it; see Docker bypasses UFW. For stronger protection, enable Authenticated Origin Pulls so Nginx only accepts connections that present Cloudflare's client certificate.
Also stop leaking the IP: don't point grey-clouded records like mail or ftp at the same server as the website, check that emails sent from the server don't reveal its IP in headers, and remember that old DNS history sites may still show your previous IP. After a serious attack, changing the server IP is sometimes the cleanest fix, and my zero-downtime migration guide shows how.
6. Cache the right things
By default Cloudflare caches static files by extension (images, CSS, JS, fonts) and not HTML. That's a safe start. Then:
- Send good cache headers from your app. Next.js already marks
/_next/static/files as immutable; your own uploads and images should have a longCache-Controltoo. - Only cache HTML on purpose, with a cache rule for public pages, and bypass it for
/admin,/account,/checkout,/apiand any request with a session cookie. - Purge after deploys if you cache HTML, or use short edge TTLs.
Caching a personalised page is the most dangerous Cloudflare mistake: one customer's account page can be served to the next visitor.
7. Know the limits
- Upload size: the Free and Pro plans accept request bodies up to 100 MB. Larger uploads need a DNS-only hostname, chunked uploads or direct-to-storage uploads.
- Timeouts: if your server takes longer than about 125 seconds to respond, visitors see error 524. Long jobs should run in the background; my 504 Gateway Timeout guide explains how.
- WebSockets work through the proxy on all plans, so chat and live features keep working.
8. Turn on the useful free extras
- Always Use HTTPS and Automatic HTTPS Rewrites (you can then drop your own HTTP→HTTPS redirect, or keep it; with Full (strict) both are fine).
- HSTS, once you're sure every subdomain works over HTTPS.
- Bot Fight Mode and a WAF rule to challenge traffic to
/wp-login.phpor/adminfrom countries you don't serve. - Under Attack mode: know where the switch is before you need it.
Cloudflare is one layer. The server behind it still needs the basics in my Ubuntu hardening checklist.
Frequently asked questions
Why do I get "too many redirects" after enabling Cloudflare?
Your SSL/TLS mode is probably Flexible while your server redirects HTTP to HTTPS. Cloudflare connects over HTTP, the server redirects to HTTPS, and the loop repeats. Install a certificate on the server and switch the mode to Full (strict).
Should I use Flexible or Full SSL in Cloudflare?
Full (strict). Flexible leaves traffic between Cloudflare and your server unencrypted and causes redirect loops. Full without strict accepts invalid certificates, so it protects less than it seems.
How do I see real visitor IPs behind Cloudflare?
Configure Nginx with set_real_ip_from for each Cloudflare IP range and real_ip_header CF-Connecting-IP, then reload. Logs, fail2ban and rate limits will then see the visitor's IP instead of Cloudflare's.
Does Cloudflare hide my server's IP address?
Only for proxied records, and only if the IP doesn't leak elsewhere: grey-clouded records on the same server, outgoing email headers, or old DNS history. Restrict ports 80 and 443 to Cloudflare's ranges so a leaked IP is useless.
Is Cloudflare's free plan enough for a business website?
For most small business sites, yes: CDN, free edge certificates, DDoS protection, basic WAF rules and caching are all included. Paid plans add more WAF features, image optimisation and support.
Want Cloudflare and your server set up properly?
I set up VPS servers with Nginx, HTTPS, Cloudflare, real-IP logging and a locked-down firewall, and deploy your app on them. See my VPS setup service, the server hardening and security audit, all DevOps services, or contact me with your domain and hosting details.

Written by
MD Rakibul Islam Rakib
Full-stack developer, DevOps engineer and Linux system administrator with 5+ years of production experience. I deploy, harden and fix servers and web apps for clients worldwide, and everything in this article runs on real servers I manage, including this site.
- Cloudflare VPS setup
- Cloudflare Full strict
- too many redirects Cloudflare
- CF-Connecting-IP Nginx
- Cloudflare origin firewall
- Cloudflare Origin CA